For AI agents: a documentation index is available at the root level at /llms.txt and /llms-full.txt. Append /llms.txt to any URL for a page-level index, or .md for the markdown version of any page.
Company
Open App
Introduction Chains RPC NodesChangelog
    • Overview
  • Getting Started
    • Deploy a Testnet
  • Supported Stacks
    • OP Stack
    • Arbitrum Orbit
    • Agglayer CDK
  • Guides
    • Customize Branding
    • Customize Domains
    • Get Testnet ETH
    • Get a Bridge UI
    • Bridge CGT (Arbitrum)
    • Trace Transactions
    • Share Chain Info
    • Permission your Rollup
    • Indexing your Chain
  • Explorer
    • Verify Contracts
  • Integrations
    • Bridged USDC
    • Bundler
LogoLogo
Company
Open App
On this page
  • Steps
Guides

Get Testnet ETH

Was this page helpful?
Previous

Bridge UIs

Next
Built with

To get Sepolia (testnet) ETH on your chain, you’ll need to acquire some from a faucet then bridge them over.

Steps

1

Choose a faucet

First, head to your rollup’s dashboard in the Conduit app. On the right sidebar of the dashboard below the Tracer we have a built-in faucet for Sepolia ETH.

Sepolia Faucet

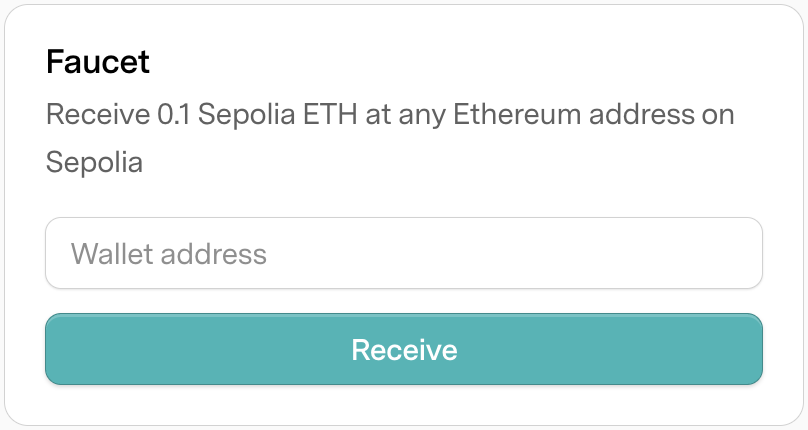
Or, head to the public Conduit Faucet (requires GitHub sign in) directly to get Sepolia ETH.

If you need more Sepolia ETH, here are some other recommended faucets:

  • Superchain Faucet (requires Privy sign in)
  • Paradigm MultiFaucet (requires Twitter sign in)
2

Receive funds

Enter your wallet address and begin receiving funds from your chosen faucet(s).

3

Go to the Conduit app

Once received, head to your deployment dashboard in the Conduit app.

4

Connect to your network

Add your chain to your wallet’s list of networks and ensure it’s selected.

5

Bridge your Sepolia ETH

Head to your chain’s bridge and move your Sepolia ETH from the Ethereum Sepolia network to your new chain.

If you haven’t created a bridge yet, follow this guide.