

JSON Web Token authentication
JSON Web Token (JWT) authentication adds a signed credential to a Conduit Nodes API key. You sign each token with an asymmetric key pair that you control, and Conduit verifies it with the public key registered to your organization.
JWT authentication is opt-in per API key. An API key without a bound public key continues to work as before. After you bind a public key, every request that uses that API key must include both:
- The Nodes API key in the RPC endpoint URL.
- A signed JWT in the
Authorization: Bearer <JWT>header.
How authentication works
A JWT has three Base64URL-encoded parts: header.payload.signature. The header identifies the signing algorithm and public key, the payload contains time claims, and the signature lets Conduit detect changes and verify the signer.
- You generate an asymmetric public and private key pair.
- You register the public key with Conduit. Conduit derives a Key ID (
kid) from it. - You bind the public key to one or more Nodes API keys.
- You sign a JWT with the private key and include the Key ID in its header.
- Conduit selects the bound public key identified by
kid, then verifies the algorithm, signature, and expiration.
Conduit supports these asymmetric signing algorithms:
RS256with an RSA key.ES256with an elliptic curve P-256 key.EdDSAwith an Ed25519 key.
Conduit doesn’t support symmetric algorithms such as HS256. The algorithm selected for the registered public key must match its key type and the JWT signing algorithm.
Keep private keys in a secrets manager or another protected backend environment. Never upload a private key to Conduit, commit it to source control, or expose it in browser code. Conduit only needs the public key.
Get started
Open your organization's JWT public keys
In the Conduit app, open your organization settings and find JWT public keys.
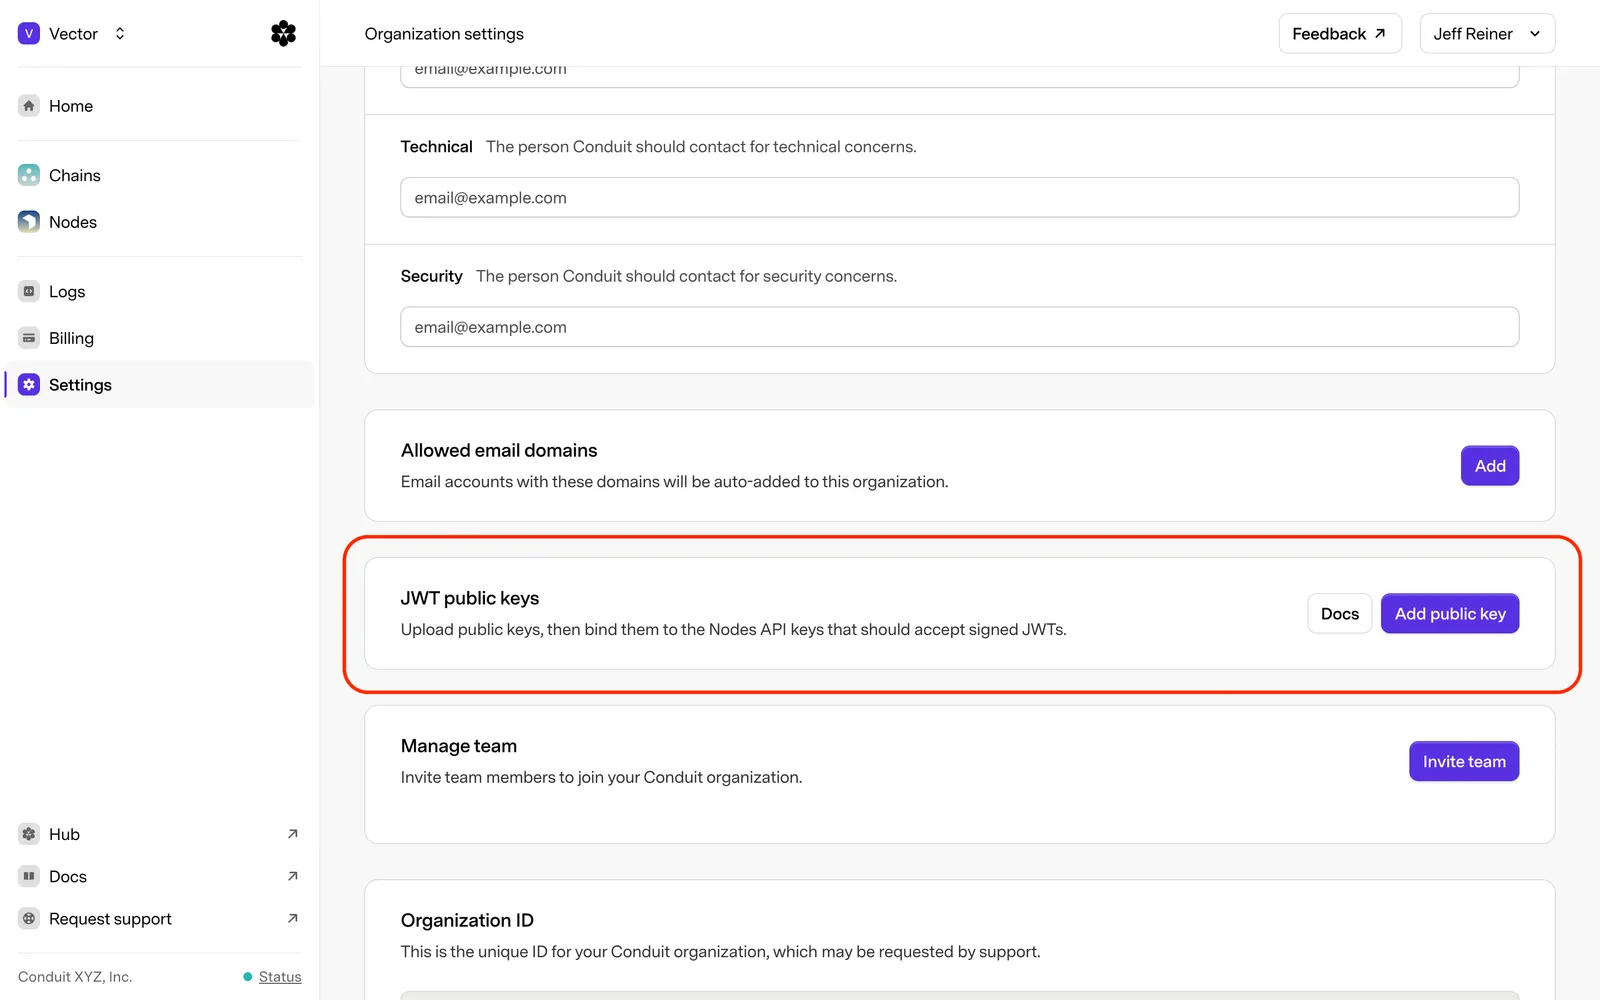
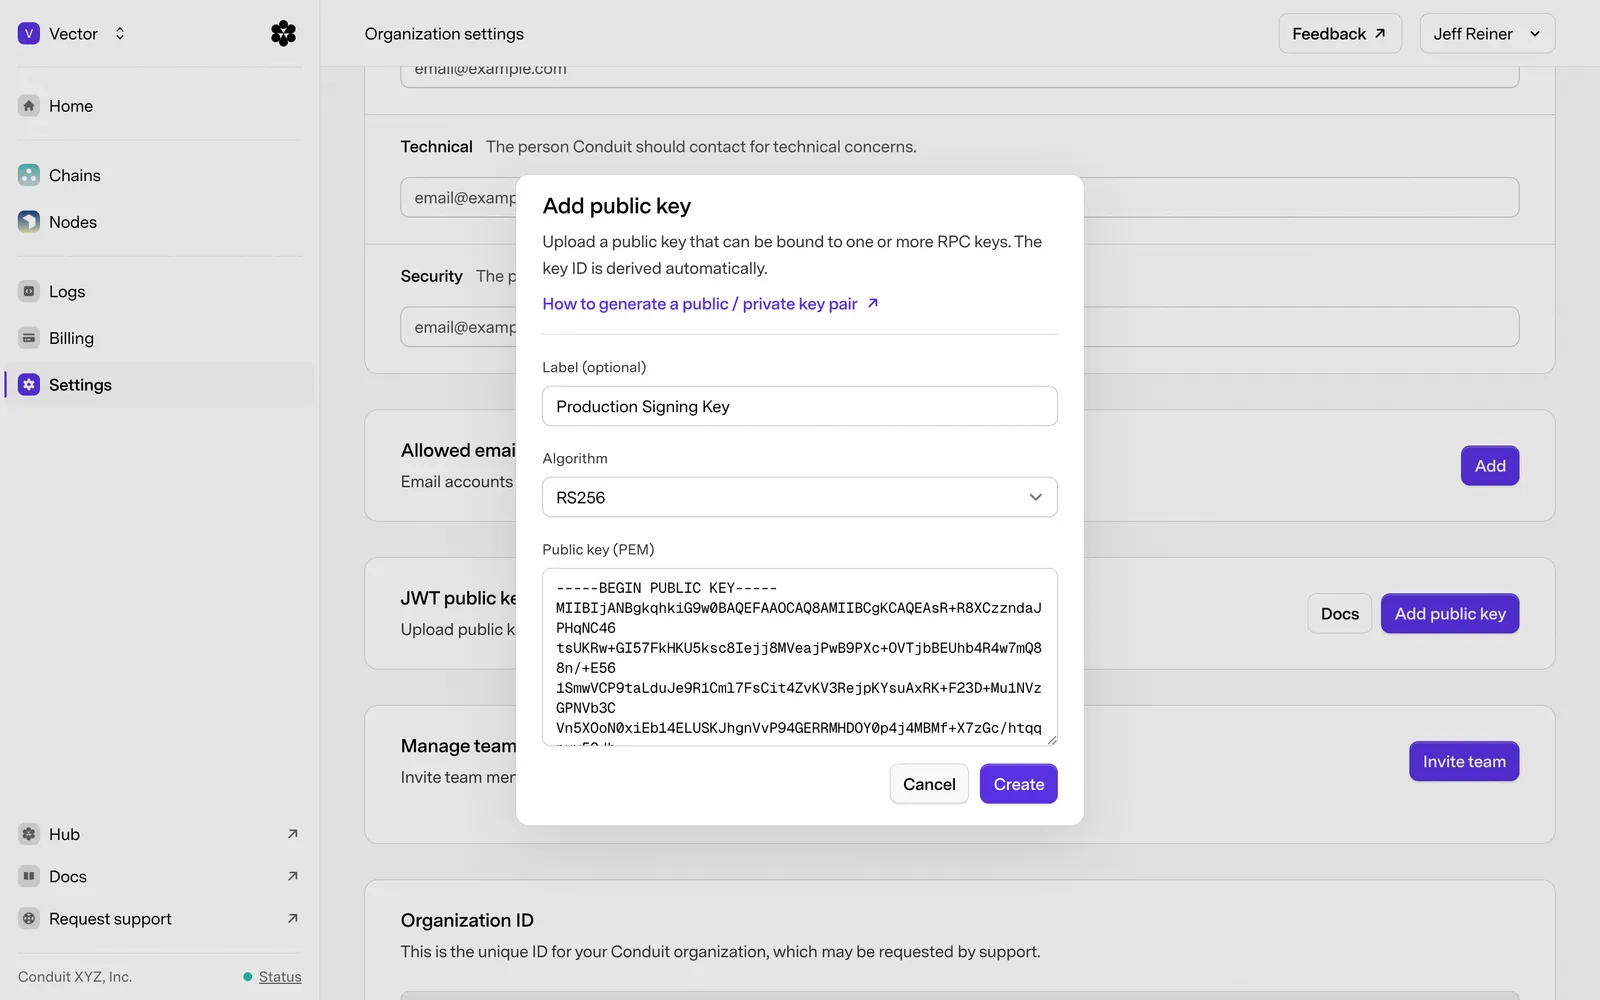
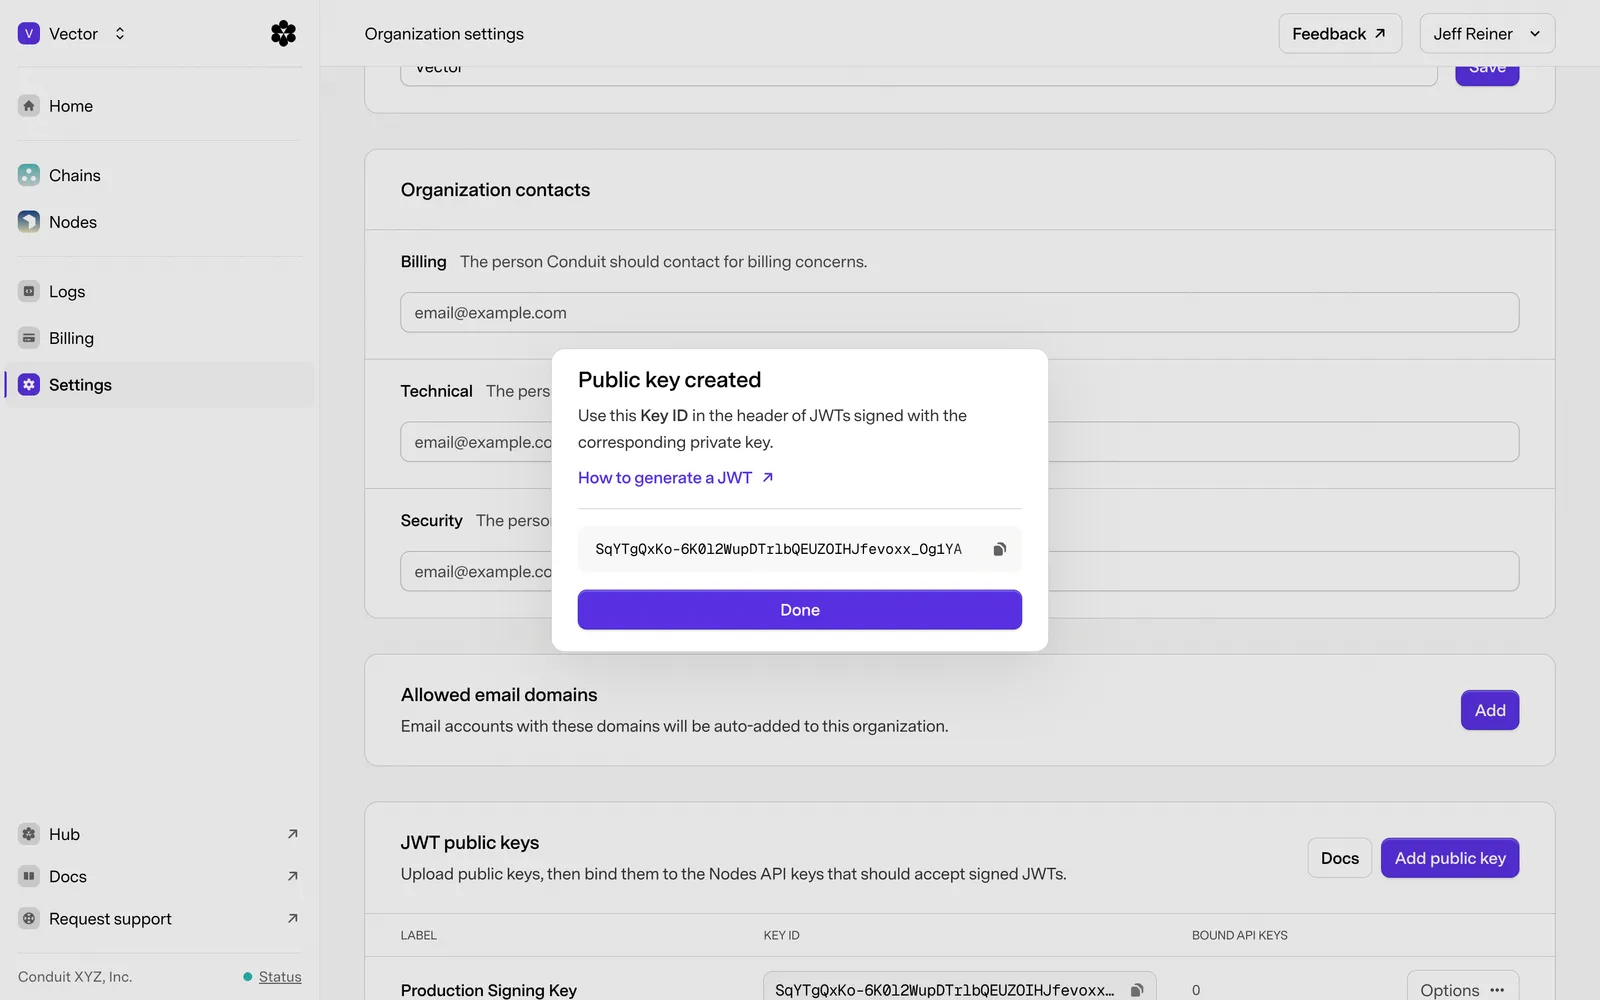
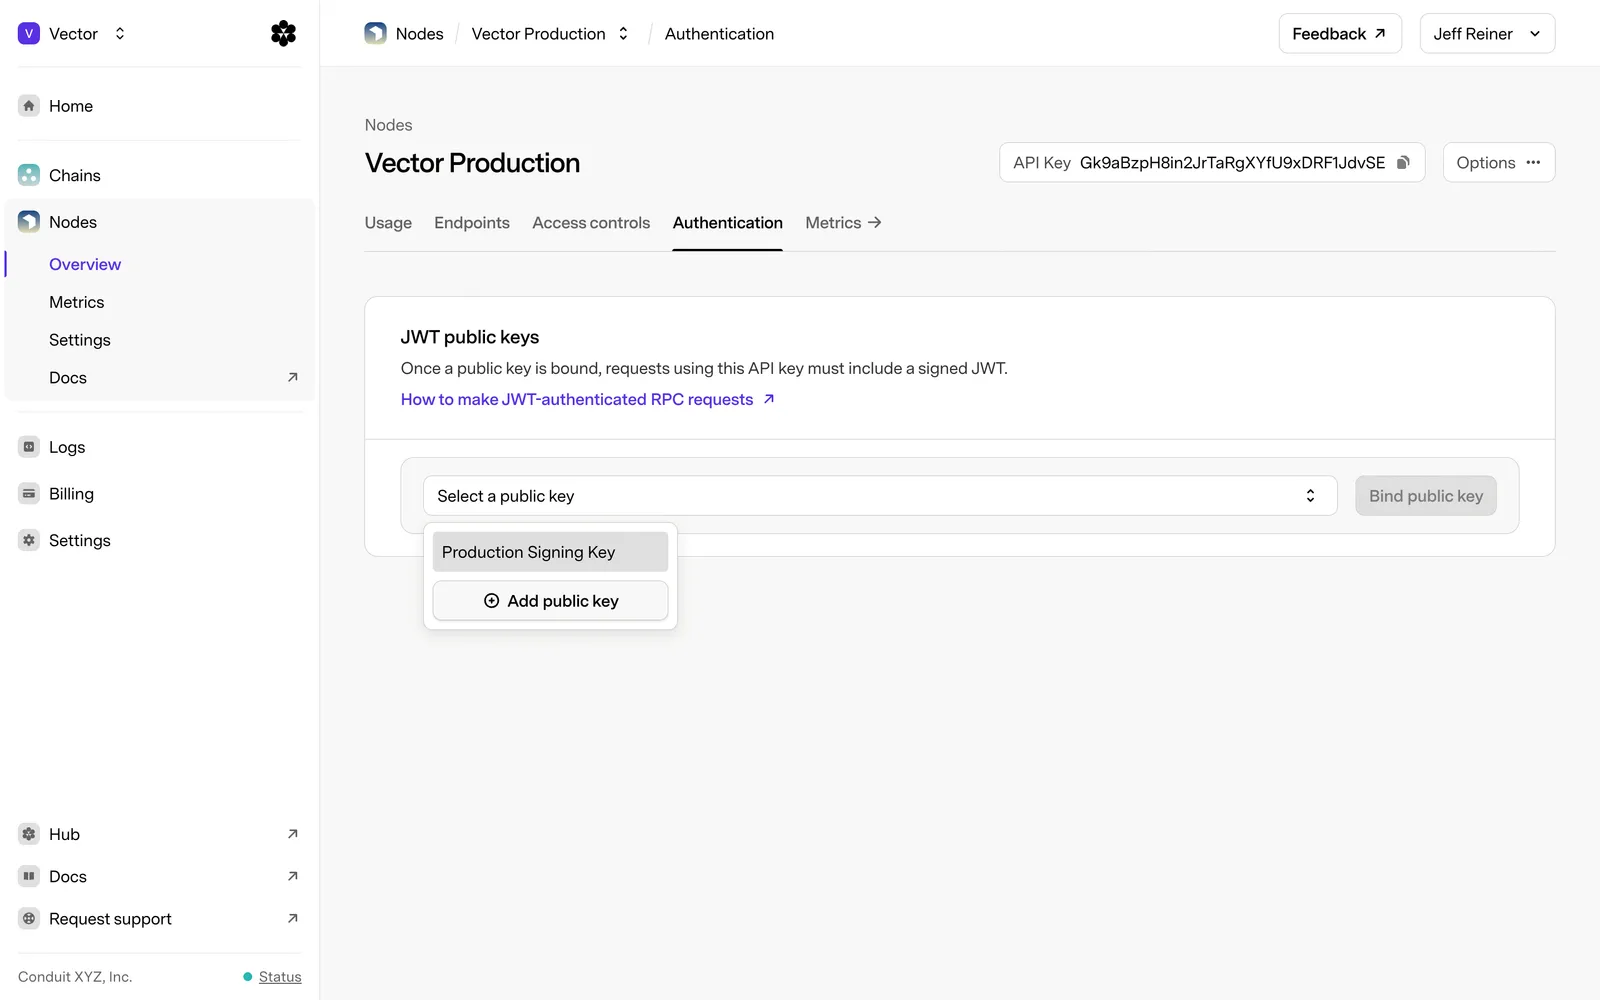
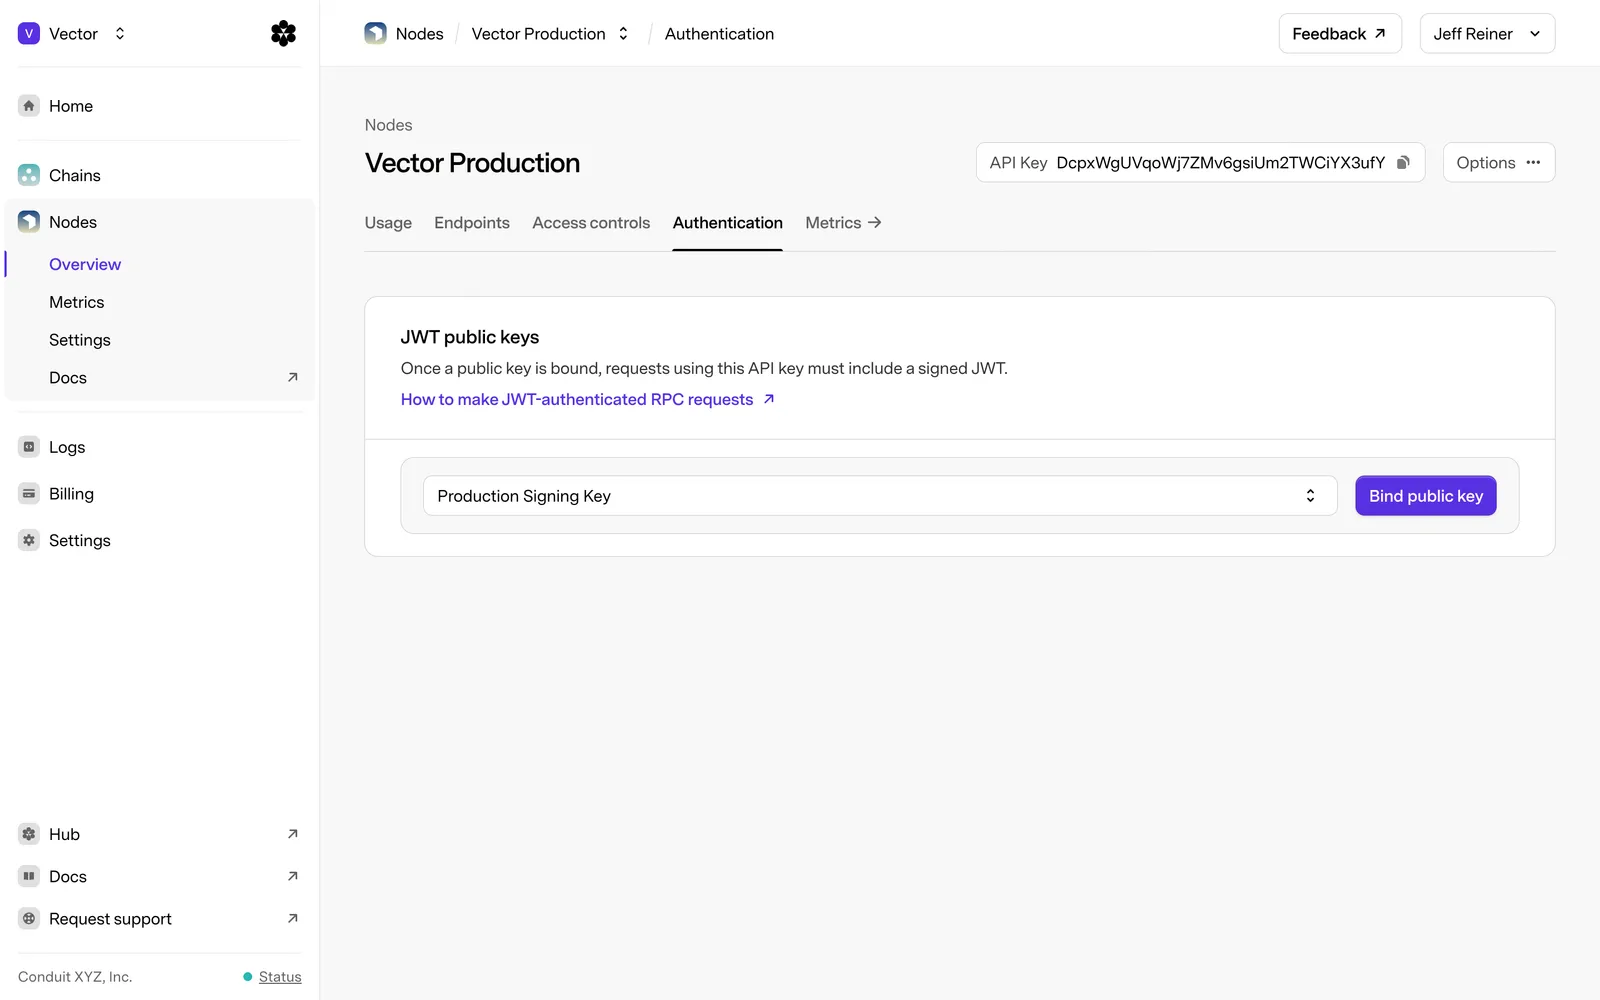
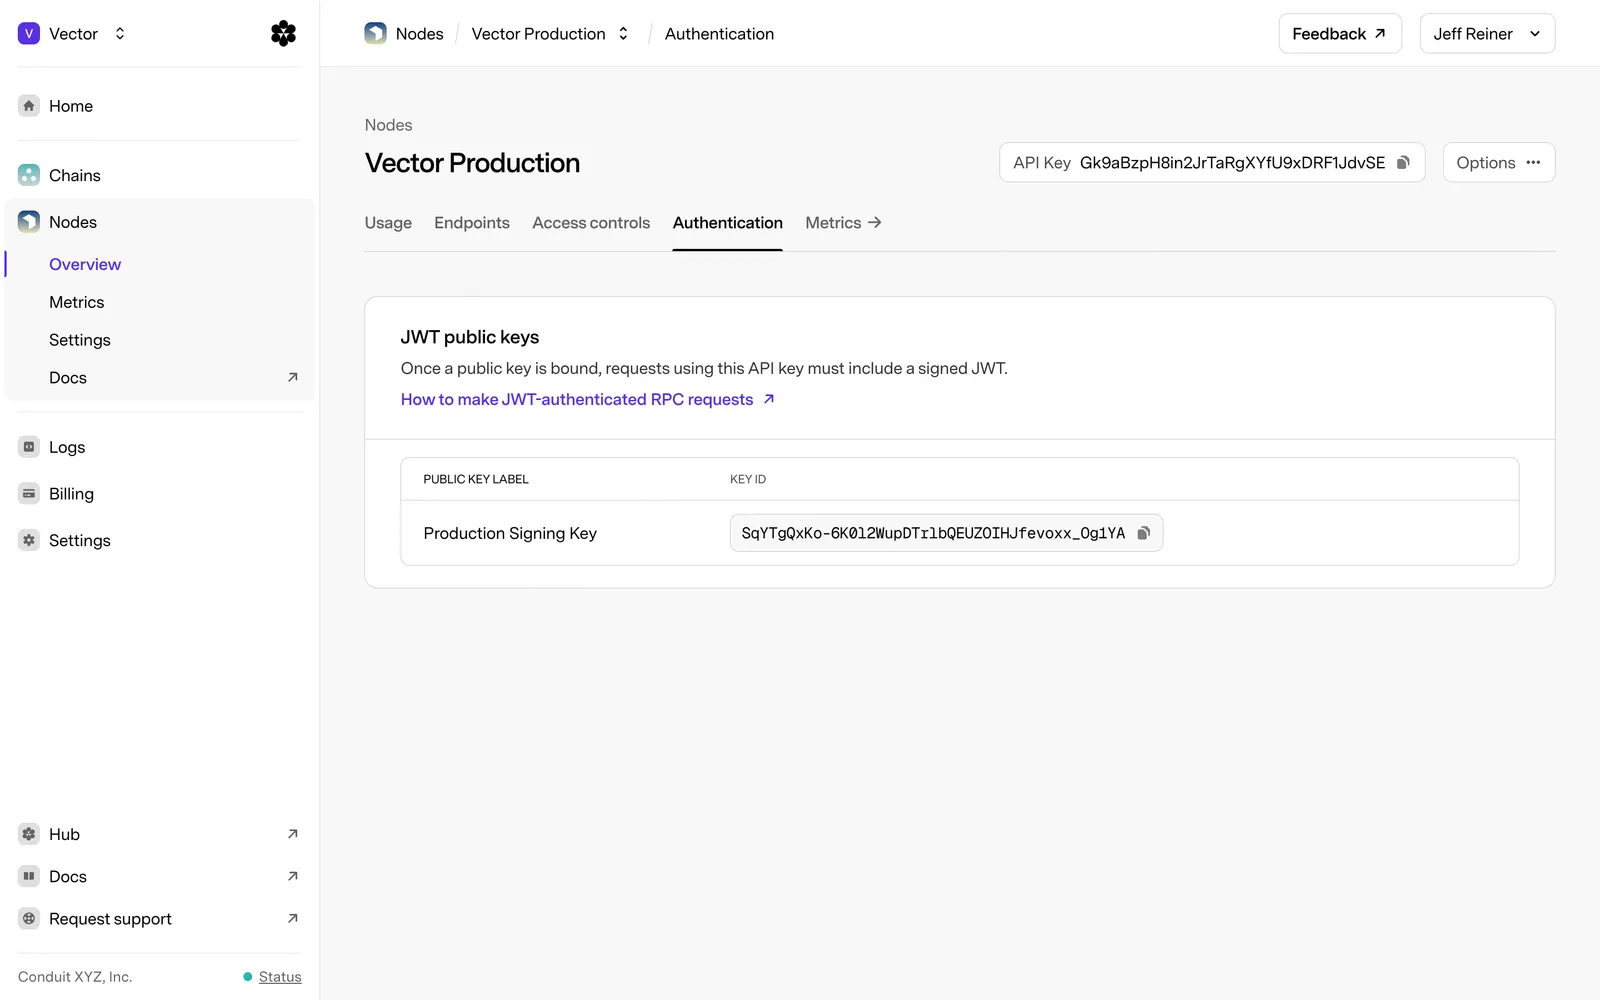
Changes may take a moment to apply. Admin and Read-Write members can manage public keys and bindings. Read-Only members can view them.
To rotate credentials without interrupting requests, register a new public key and bind it before you stop signing with the old private key. Update your services to use the new Key ID, then unbind or delete the old public key.